How to Add an External Water Filter to Your Countertop Ice Maker: Step-by-Step Installation for Cleaner, Clearer Ice
Introduction
One will learn how to integrate an external filtration device with a countertop ice maker, thereby improving the taste, clarity, and safety of the produced ice. The guide explains why untreated municipal water often contains chlorine, mineral deposits, and trace contaminants that can discolor ice cubes and affect flavor. By following the procedure, one can extend the lifespan of the appliance, reduce scale buildup, and enjoy crystal‑clear ice for beverages and culinary applications. The method is applicable to most standard models that use a 1/4‑inch water line and does not require professional plumbing services.
What You’ll Need
- Flexible water‑line tubing (1/4‑inch diameter) compatible with the ice maker inlet.
- Two‑part hose clamp or push‑fit connector to secure the tubing.
- Adjustable wrench for tightening fittings.
- Measuring tape to verify clearances.
- One of the following external filters, depending on installation preferences:
- PureWater Ice Maker Filter Kit – complete kit with T‑adapter, tubing, and a filter cartridge.
- ZeroWater 5‑Stage Filter – high‑performance cartridge for removing total dissolved solids.
- Camco RV Inline Water Filter – rugged inline filter designed for mobile applications.
- Small bucket or container to catch water during the transition.
- Clean cloth for wiping connections.
Step 1 – Shut Off the Water Supply and Relieve Pressure
One should locate the nearest cold‑water shut‑off valve that feeds the countertop ice maker. Turn the valve clockwise until it stops, then open the ice maker’s water inlet briefly to release any residual pressure in the line. Collect the expelled water in the bucket to avoid spillage on countertops. This precaution prevents leaks while the new filter is being installed.
Step 2 – Disconnect the Existing Water Line
Using an adjustable wrench, loosen the compression nut that secures the existing tubing to the ice maker’s inlet fitting. Pull the tubing gently to detach it; if the connection is push‑fit, press the release tab and slide the tube out. Inspect the end of the original line for mineral deposits; clean it with a cloth if necessary. Retain the original tubing if it is in good condition, otherwise replace it with fresh 1/4‑inch tubing.
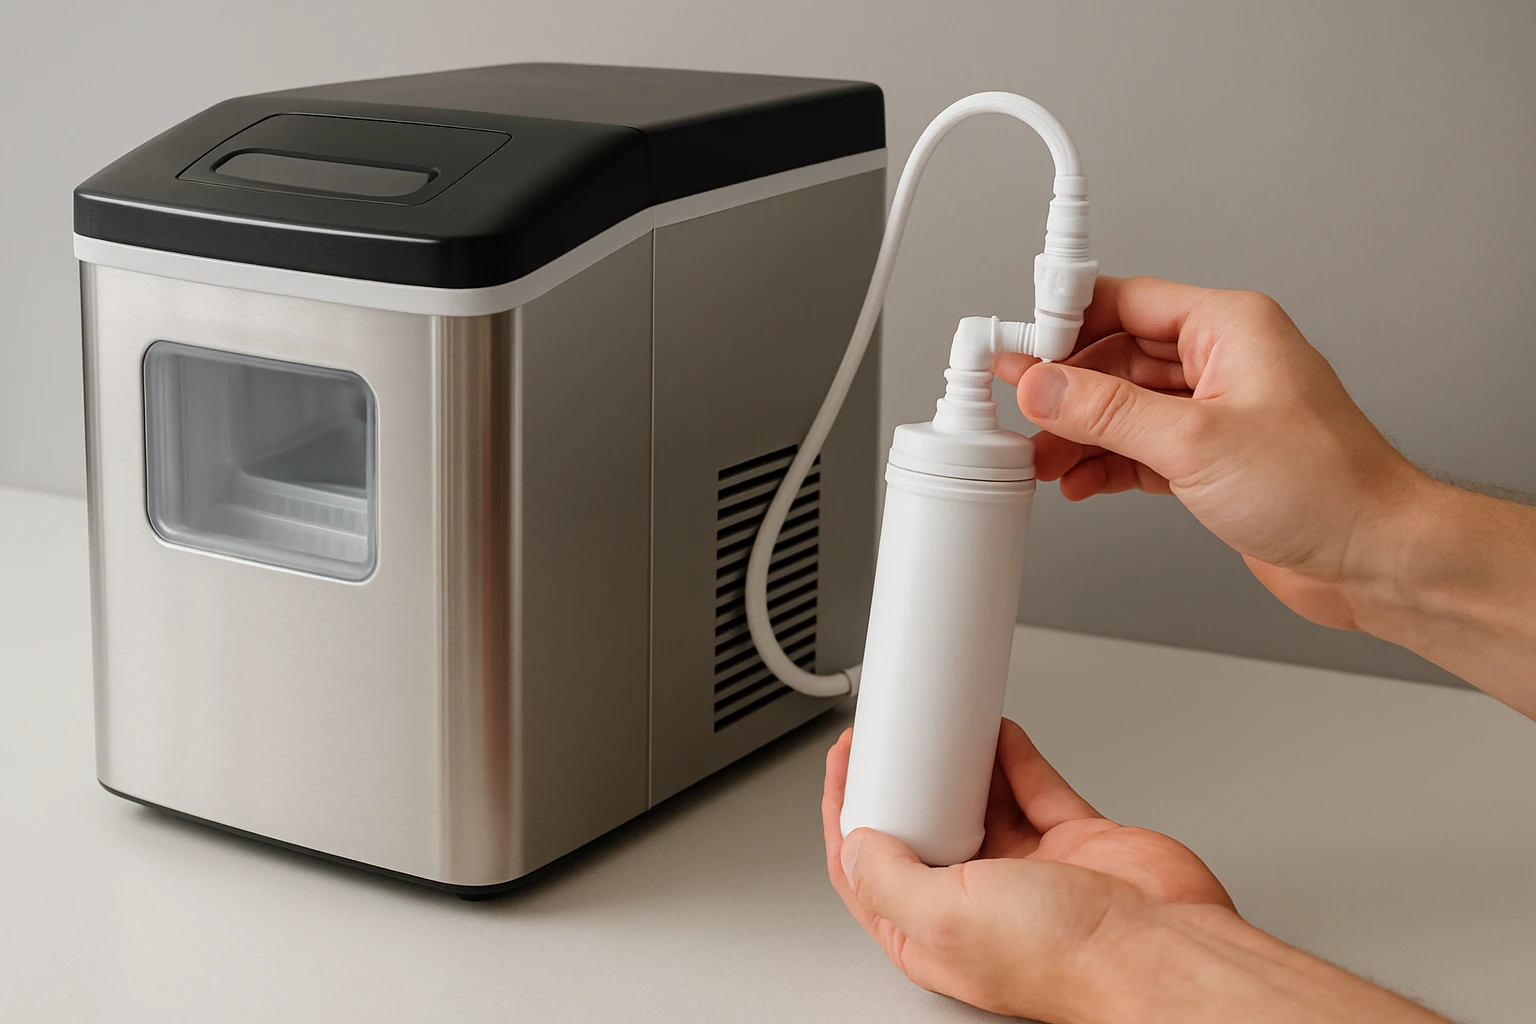
Step 3 – Install the Chosen External Filter
Choose the filter that best matches the installation environment. For a permanent kitchen setup, the PureWater Ice Maker Filter Kit offers a dedicated T‑adapter that splits the water line, allowing simultaneous filtration for the ice maker and a secondary faucet if desired. The kit includes a filter cartridge rated for up to 1,500 gallons, NSF/ANSI 42 certification, and a lifetime warranty on all components except the cartridge. The price is $46.99 and the rating is 4.7/5.0 from 1,494 reviews.
If one prefers a filter that removes virtually all total dissolved solids, the ZeroWater 5‑Stage Filter provides five ion‑exchange stages that reduce lead, chromium, and PFOA/PFOS. The 4‑pack costs $59.99, has a rating of 4.5/5.0 from 96,279 reviews, and each cartridge lasts approximately 15 gallons before the TDS meter indicates replacement. This option is ideal for households that value the purest taste for coffee, tea, and cooking in addition to ice.
For mobile or recreational installations, the Camco RV Inline Water Filter delivers six‑step filtration, including GAC and KDF media, in a compact housing that attaches directly to a garden hose or existing water line. Priced at $19.97 with a 4.7/5.0 rating from 53,117 reviews, it is especially useful for campers who move the ice maker between locations.
Regardless of the selected product, follow these universal steps to mount the filter: attach the inlet port of the filter to the shut‑off valve using the provided hose clamp, then connect the outlet port to the ice maker’s water inlet with the new tubing. Ensure that the flow direction arrow on the filter points toward the ice maker.
Step 4 – Secure All Connections and Test for Leaks
After the filter is in place, tighten each compression nut by hand and then give a final quarter‑turn with the wrench. Use a clean cloth to wipe any moisture from the fittings. Slowly open the shut‑off valve and observe each joint for drips. If a leak appears, tighten the nut an additional ¼ turn or reposition the tubing to eliminate kinks. Run the ice maker for a few minutes to allow water to pass through the new media; this flushes out any loose carbon particles that may discolor the first batch of ice.
Step 5 – Prime the Filter and Verify Water Quality
For filters that contain activated carbon, such as the Camco RV Inline Water Filter, allow water to run for 30 to 45 seconds until it runs clear. This step removes residual carbon that can appear as a dark tint in the first few ounces. If the chosen filter includes a TDS meter, such as the ZeroWater system, measure the reading after the water runs clear; a value of 006 or lower indicates optimal performance. Record the reading for future reference when it is time to replace the cartridge.
Step 6 – Re‑assemble the Ice Maker and Produce Test Ice
Close the ice maker’s water inlet valve, then re‑attach the ice maker’s front panel according to the manufacturer’s instructions. Turn the appliance on and initiate a full ice‑making cycle. Once the cycle completes, examine the ice cubes for clarity, color, and taste. Clear, translucent cubes confirm that the filtration system is functioning correctly. If any cloudiness persists, verify that the filter is installed in the correct orientation and that no air pockets remain in the line.
Tips & Pro Tips
- Mark the installation date on the filter housing with a waterproof marker; this simplifies future replacement schedules.
- When using the ZeroWater 5‑Stage Filter, keep a TDS meter handy. The meter provides an objective metric for water purity and signals when the cartridge has reached the end of its life.
- Place the filter in a location that remains above freezing temperatures; extreme cold can damage the internal media and reduce flow rate.
- For RV or boat installations, store the filter in a dry compartment when the vehicle is not in use to prevent corrosion.
- Periodically flush the line with a mixture of one part white vinegar to three parts water to dissolve mineral scale that may accumulate in the tubing.
Troubleshooting
| Problem | Possible Cause | Solution |
|---|---|---|
| Low water flow | Clogged filter media or kinked tubing | Turn off water, remove filter, and rinse cartridge under running water. Replace tubing if a kink is present. |
| Cloudy ice | Air trapped in line or incomplete priming | Close the valve, disconnect the tubing, and bleed air by running water until a steady stream emerges. |
| Unusual taste | Filter past its service life | Check TDS reading (if applicable) and replace the cartridge according to manufacturer recommendations. |
| Leak at connection | Improperly tightened nut or damaged O‑ring | Re‑tighten the nut and inspect the O‑ring for cracks; replace if necessary. |
Conclusion
One has now mastered the process of adding an external water filter to a countertop ice maker, thereby achieving clearer, better‑tasting ice while protecting the appliance from scale and contaminants. The guide highlighted three reliable products, explained their specific advantages, and provided a systematic workflow that can be completed with basic hand tools. By maintaining the filter according to the suggested schedule, one will enjoy consistent performance for many months. Implement the steps today and experience the difference that purified water makes in every glass.
Products Mentioned in This Guide
Frequently Asked Questions
Why should I add an external water filter to my countertop ice maker?
It removes chlorine, minerals, and contaminants, resulting in clearer, better‑tasting ice and less scale buildup.
What size water line is required for most countertop ice makers?
A standard 1/4‑inch diameter flexible tubing fits the inlet on most models.
Can I install the filter myself without a plumber?
Yes, the installation uses simple hose clamps or push‑fit connectors and only basic tools.
Which type of external filter works best for mineral removal?
A carbon‑block or reverse‑osmosis filter designed for 1/4‑inch lines effectively reduces minerals and chlorine.
How often should I replace the external filter?
Replace it according to the manufacturer’s rating, typically every 2‑3 months or after 1,000 gallons of use.