How to Connect a Countertop Ice Maker to Your Bar Inventory System: Step‑by‑Step Integration Guide for Real‑Time Tracking and Waste Reduction
Introduction
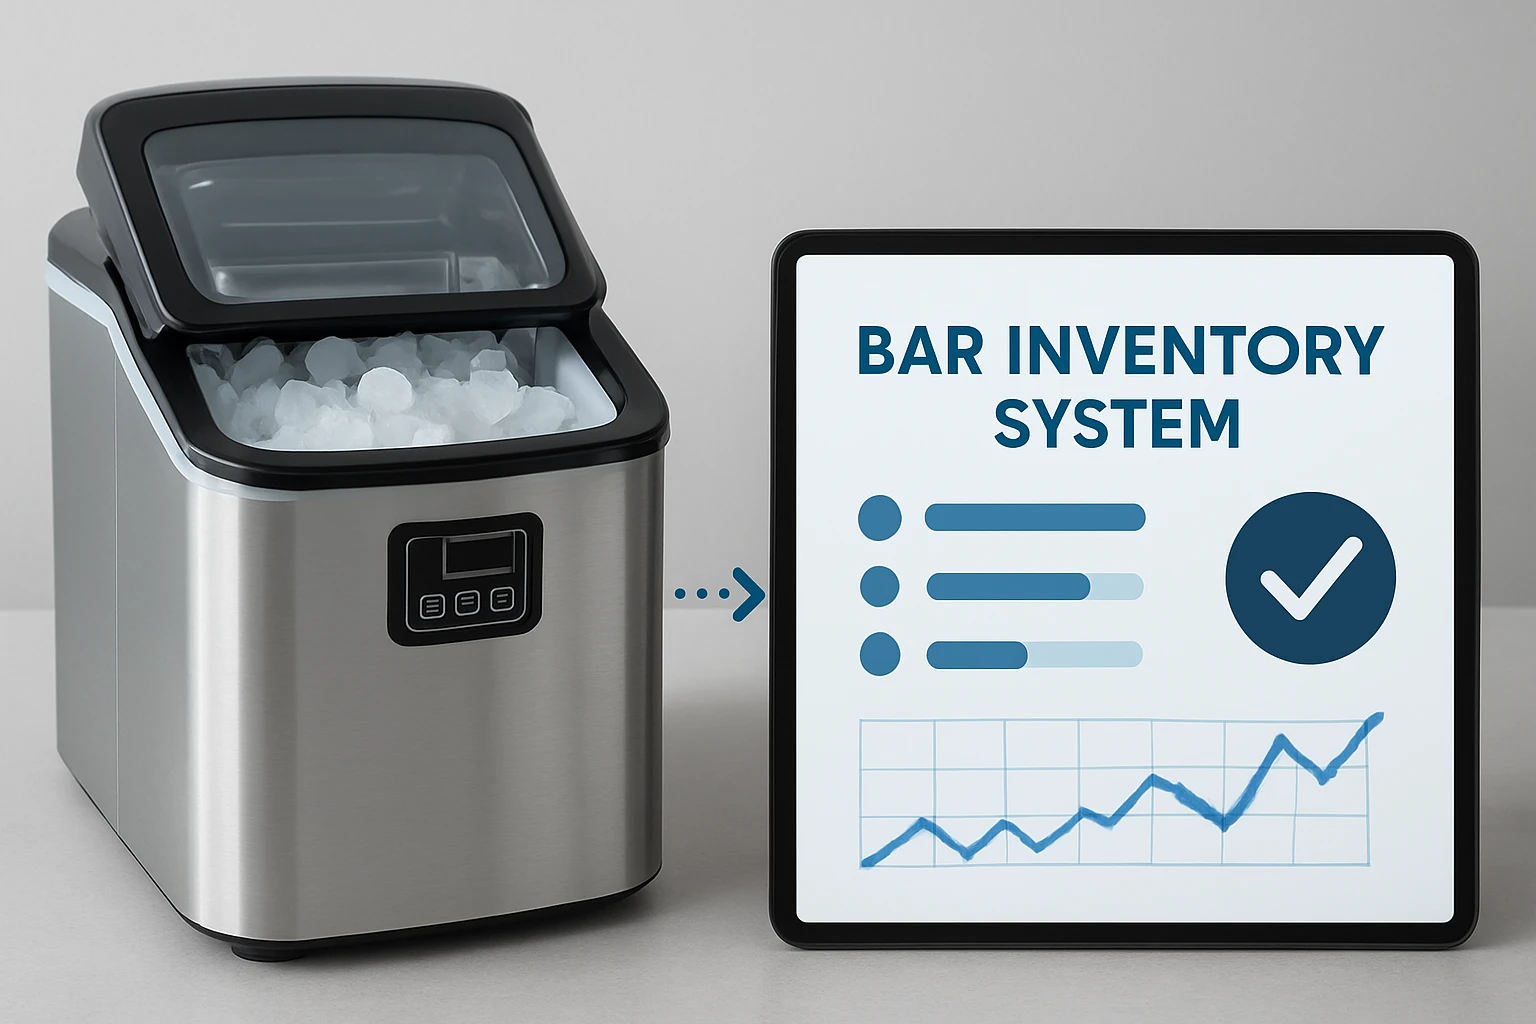
In modern hospitality, the ability to monitor ice consumption in real time can dramatically reduce waste and improve cost control. This guide explains how a bar manager can connect a countertop ice maker to an inventory management system, capture usage data, and generate actionable insights. The reader will learn the required hardware, software configuration, and best‑practice procedures for a seamless integration. By following these steps, one can transform a simple ice machine into a data‑driven asset that supports profitability.
The guide assumes a basic familiarity with bar operations and inventory software, but it does not require advanced technical expertise. Each step includes practical recommendations, and product suggestions are provided only where they add genuine value.
What You’ll Need
- One portable countertop ice maker (examples include NEWBULIG Portable Ice Maker, Antarctic Star Mini Ice Maker, Aeitto Portable Ice Maker, or EUHOMY Portable Ice Maker)
- Bluetooth barcode scanner for inventory capture, such as the NETUM Bluetooth Barcode Scanner
- Stable Wi‑Fi network or Ethernet connection for the bar’s inventory software
- USB power adapter and optional surge protector
- Basic tools: screwdriver, cable ties, and a label printer
- Inventory management software that supports API integration or Bluetooth input (e.g., BevSpot, Bar-i, or custom ERP)
Step 1: Select the Ideal Ice Maker for Your Bar
The first decision influences the entire workflow, because production capacity, noise level, and self‑cleaning features affect bar efficiency. The NEWBULIG Portable Ice Maker offers a compact footprint of 8.8 × 11.6 × 12.5 inches, weighs 15.4 lb, and produces up to 26.5 lb of bullet‑shaped ice per day. Priced at $59.99, it includes an infrared sensor, auto‑cleaning function, and a clear ice‑full indicator, making it well suited for high‑traffic bars that require quick replenishment.
Alternatively, the Antarctic Star Mini Ice Maker emphasizes energy efficiency with a motor that reduces consumption by 30 %. Its dimensions of 8.66 × 10.39 × 11.22 inches and quiet operation under 40 dB allow placement near seating areas without disturbing patrons. Both models produce nine bullet cubes in six minutes, ensuring that ice is always available for cocktails.
When choosing a model, consider daily ice demand, available counter space, and the desired noise profile. A higher daily output reduces the frequency of refilling the water reservoir, while a quieter unit improves the bar ambience.
Step 2: Install the Ice Maker in a Strategic Location
Place the ice maker near the bar’s prep station, but away from direct sunlight and heat sources. The sturdy carry handle on the NEWBULIG and EUHOMY units simplifies relocation during cleaning or seasonal re‑configuration. Ensure that the power outlet is grounded and that a short power strip with surge protection is used to safeguard the appliance.
Connect the water reservoir to a filtered water source if possible. Clean filtered water reduces mineral buildup, extending the life of the compressor and preserving ice clarity. Secure any hoses with cable ties to prevent accidental tripping.
After positioning, run a test cycle to verify that the machine produces clear bullet ice without excessive noise. Observe the ice‑full indicator; it will flash when the basket reaches capacity, providing a visual cue for inventory logging.
Step 3: Set Up the NETUM Bluetooth Barcode Scanner
The barcode scanner captures each ice batch as a discrete inventory event. The NETUM Bluetooth Barcode Scanner features a 2500‑pixel CCD sensor, supports HID and SPP Bluetooth modes, and offers up to 100 000 stored barcodes when offline. Its 2600 mAh battery provides at least one month of continuous use, which is ideal for a bar that operates daily.
Pair the scanner with the bar’s tablet or computer via the Bluetooth settings menu. Select “NETUM” from the list of available devices and confirm the pairing code if prompted. Once paired, configure the scanner to emit a predefined barcode prefix (e.g., "ICE-") before each batch number. This prefix allows the inventory software to differentiate ice events from other scanned items.
Print a small label with the barcode “ICE‑001” and attach it to the ice basket of the chosen ice maker. Each time the basket is emptied, the bartender will scan the label, automatically logging the quantity produced.
Step 4: Configure Inventory Software for Real‑Time Ice Tracking
Open the inventory management application and navigate to the “Integrations” or “API Settings” section. Create a new data source named “Ice Maker Tracker” and select “Bluetooth Input” as the connection type. Map the incoming barcode prefix “ICE‑” to an inventory item called “Bullet Ice”. Set the unit of measure to “pounds” and assign a cost per pound based on the supplier price.
Enable automatic alerts for thresholds such as “Ice inventory below 5 lb”. The software will then generate a notification when the scanned batch indicates low stock, prompting the bartender to initiate a new production cycle. This proactive approach reduces the risk of running out of ice during peak service hours.
Test the integration by scanning the “ICE‑001” label after a full batch is produced. Verify that the software records the correct weight (approximately 9 lb per full basket for the NEWBULIG model) and updates the real‑time dashboard.
Step 5: Automate Data Capture with Scheduled Scans
To minimize manual effort, establish a schedule for scanning the ice basket at regular intervals (e.g., every two hours). Use a wall‑mounted timer or a digital reminder on the bar manager’s tablet. When the timer sounds, the bartender scans the barcode, and the system logs the current ice level based on the basket’s capacity indicator.
If the ice maker supports an “Ice Full” LED, the bartender can quickly determine whether a new batch is required without opening the basket. This visual cue, combined with the barcode scan, creates a reliable loop of data that reflects actual consumption.
Document each scan in a simple log sheet as a backup for audit purposes. The log should include the timestamp, batch number, and any notes about ice quality (e.g., cloudiness or unusual taste). Over time, the data set will reveal patterns that inform ordering decisions and equipment maintenance schedules.
Tips & Pro Tips
- Calibrate the weight per batch. Different models produce slightly different basket weights; measure a full basket with a kitchen scale and enter the exact figure into the inventory software.
- Use filtered water. Hard water causes scale buildup, which can reduce ice clarity and increase energy consumption.
- Run the auto‑clean cycle weekly. Both the NEWBULIG and EUHOMY units feature a one‑touch cleaning function that removes mineral deposits and prevents bacterial growth.
- Leverage the scanner’s programmable prefixes. Assign separate prefixes for “Ice‑Large” and “Ice‑Small” if the ice maker produces two cube sizes; this enables more granular cost tracking.
- Integrate waste tracking. Record the amount of ice melted or discarded in the inventory system to calculate waste percentages and identify opportunities for improvement.
Troubleshooting
Problem: The barcode scanner does not connect to the tablet.
Solution: Ensure that Bluetooth is enabled on both devices, remove any previously paired devices that may cause interference, and restart the scanner by holding the power button for three seconds. If the issue persists, reset the scanner to factory settings using the manual’s reset sequence.
Problem: Ice maker fails to produce ice after a scan.
Solution: Verify that the water reservoir is filled above the minimum level indicator and that the “ADD WATER” light is not flashing. Clean the inlet filter and run the auto‑clean cycle to remove any blockages.
Problem: Inventory software shows incorrect ice weight.
Solution: Re‑measure a full basket with a calibrated scale, update the weight value in the software’s item settings, and re‑scan the barcode to confirm the correction.
Conclusion
This guide has demonstrated how a bar can transform a countertop ice maker into a smart inventory asset. By selecting a reliable ice maker, pairing a Bluetooth barcode scanner, and configuring inventory software for real‑time data capture, one can achieve precise tracking, reduce waste, and improve cost efficiency. The systematic approach outlined here empowers bar managers to make data‑driven decisions without sacrificing service speed or beverage quality.
Implementation requires modest investment in hardware and a few minutes of configuration, yet the long‑term savings in ice waste and the enhanced visibility into consumption patterns deliver measurable ROI. One is encouraged to pilot the workflow, refine the scanning schedule, and expand the methodology to other consumables such as garnishes and mixers.
Products Mentioned in This Guide
Frequently Asked Questions
What hardware is required to link a countertop ice maker to a bar inventory system?
You need a network‑enabled ice maker, a compatible IoT gateway or Wi‑Fi module, and a barcode/RFID scanner for inventory tagging.
Can I integrate any brand of countertop ice maker, or are specific models needed?
Most modern models with Ethernet or Wi‑Fi support can be integrated, but manufacturers often provide SDKs for easier connection; check the model’s API availability.
How does the software configuration capture ice usage data?
The inventory software polls the ice maker’s API for dispense counts, timestamps each event, and logs it to the central database for real‑time reporting.
What are the best practices to ensure accurate ice consumption tracking?
Calibrate the dispenser sensor, regularly verify network connectivity, and reconcile recorded usage with sales data at least weekly.
Will connecting the ice maker help reduce waste and lower costs?
Yes, real‑time tracking identifies over‑production, enables precise ordering, and highlights inefficiencies, leading to measurable waste reduction and cost savings.