How to Emergency‑Sanitize Your Ice Maker After a Flood or Power Outage: Step‑by‑Step Safety Guide
Introduction
When a flood or unexpected power outage forces an ice maker to sit idle, bacterial growth and mineral deposits can compromise both safety and taste. This guide teaches the reader how to assess damage, clean, disinfect, and restore the appliance to optimal performance. By following each step, one can prevent the spread of pathogens, protect equipment longevity, and avoid costly repairs. The information is valuable for homeowners, renters, and small‑business operators who rely on reliable ice production.
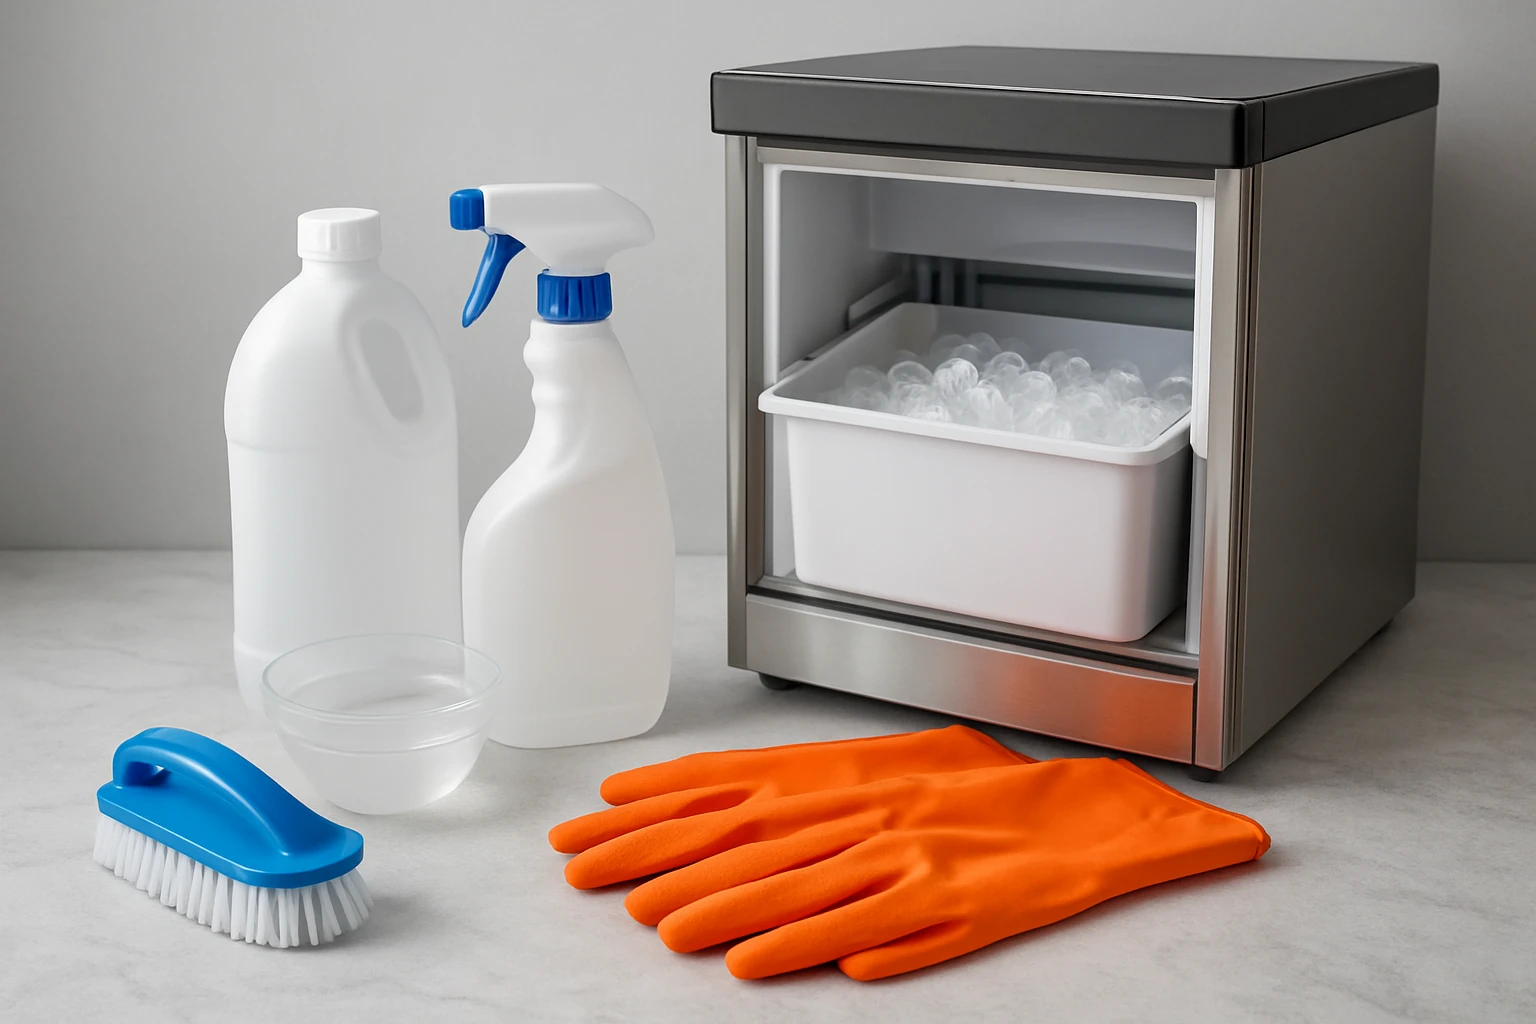
What You'll Need
- Protective gloves and safety goggles
- Absorbent towels or mop
- Bucket of warm water
- Soft scrub brush
- Amazon Basics Disinfecting Wipes – 320 count, $12.37, 4.7/5 rating
- CloroxPro Disinfecting Wipes – 700 count, $34.06, 4.9/5 rating
Step 1: Assess the Situation
Before any cleaning begins, one should visually inspect the ice maker for signs of water intrusion, rust, or damaged components. Verify that the power source is disconnected and that the unit is completely dry to avoid electrical hazards. Document any visible mold, slime, or mineral buildup, as this information guides the intensity of the cleaning process. If the appliance shows extensive corrosion, consider consulting a professional technician.
Step 2: Unplug and Disassemble
Locate the power cord and unplug the ice maker from the outlet; this eliminates the risk of shock while working with liquids. Remove removable parts such as the ice bin, water reservoir, and filter according to the manufacturer’s manual. Place each component on a clean surface protected by towels to prevent cross‑contamination. Disassembly also exposes hidden crevices where contaminants may accumulate.
Step 3: Remove Water and Debris
Using absorbent towels or a mop, soak up standing water from the base and surrounding area. For trapped water inside the machine, tilt the unit gently and allow gravity to drain excess liquid into a bucket. Scrape loose debris with a soft brush, taking care not to scratch stainless‑steel surfaces. Eliminating bulk water reduces the microbial load before disinfecting.
Step 4: Preliminary Cleaning of Surfaces
Fill a bucket with warm water and add a mild dish‑soap solution. Submerge removable parts and scrub them with a soft brush to loosen grease, food particles, and mineral scale. Rinse each component thoroughly with clean water to avoid soap residue, which can interfere with later disinfection. This step prepares the surfaces for the most effective action of the wipes.
Step 5: Disinfect with Amazon Basics Disinfecting Wipes
After the initial wash, one should use Amazon Basics Disinfecting Wipes to sanitize all interior surfaces, the ice bin, and the water reservoir. These wipes are strong, durable, and designed for multi‑surface use, making them ideal for household appliances. Each wipe releases a lemon and fresh‑air scent while killing 99.9% of common bacteria, providing a pleasant cleaning experience. The 320‑count pack offers long‑term value at $12.37 and holds a 4.7‑star rating from over three thousand reviews.
Step 6: Heavy‑Duty Disinfection with CloroxPro Wipes
For areas that have been exposed to floodwater or where a higher level of pathogen control is required, one should apply CloroxPro Disinfecting Wipes. These wipes are EPA‑registered to kill 99.9% of viruses and bacteria, including SARS‑CoV‑2, and they remain effective for up to 24 hours against odor‑causing microbes. Their bleach‑free formula is safe for stainless steel and sealed granite, preventing corrosion while delivering commercial‑grade sanitation. At $34.06 for 700 wipes and a 4.9‑star rating, they provide an economical solution for rigorous cleaning.
Step 7: Rinse and Dry Thoroughly
After disinfecting, rinse all components with fresh water to remove any chemical residue that could affect ice taste. Use a clean, lint‑free cloth to dry each part, paying special attention to seams and joints where moisture can hide. Allow the interior of the ice maker to air‑dry for at least 30 minutes before reassembly; this ensures that no dampness remains to foster microbial growth.
Step 8: Reassemble and Test
Reinstall the ice bin, water reservoir, and filter exactly as outlined in the user manual. Plug the unit back into a grounded outlet and restore the water supply. Initiate a test cycle to verify that ice production resumes without unusual noises or leaks. Observe the first batch of ice for any off‑flavors, which could indicate residual cleaning agents; if detected, repeat the rinse step.
Tips & Pro Tips
- Wear disposable gloves throughout the process to protect skin from chemicals and contaminants.
- Perform the sanitization within a well‑ventilated area to disperse any lingering disinfectant vapors.
- Use a soft microfiber cloth for final drying; it absorbs moisture without leaving fibers on surfaces.
- Schedule a routine deep clean every three months to maintain optimal hygiene, especially in high‑traffic environments.
Troubleshooting
- Ice tastes metallic: This often results from incomplete rinsing of disinfectant. Rinse again with distilled water and run an extra purge cycle.
- Ice maker fails to start: Verify that the power cord is securely connected and that the water inlet valve is open. Check the fuse or circuit breaker if the unit remains dead.
- Visible residue after cleaning: Use a soft brush to dislodge stubborn deposits, then repeat the wipe step with a fresh wipe.
Conclusion
By following this comprehensive, step‑by‑step guide, one can safely restore an ice maker after flood damage or a power outage, ensuring that the appliance produces clean, safe ice. The combination of proper assessment, thorough cleaning, and targeted disinfection with Amazon Basics and CloroxPro wipes delivers reliable results without unnecessary expense. Maintaining a regular cleaning schedule further protects against future contamination and extends the life of the equipment.
Products Mentioned in This Guide
Frequently Asked Questions
What is the first step to take when an ice maker has been exposed to flood water?
Turn off power and water, then inspect for visible damage or contamination before cleaning.
Which safety gear is recommended before sanitizing an ice maker?
Wear protective gloves and safety goggles to avoid contact with bacteria and cleaning chemicals.
What cleaning tools are essential for emergency sanitizing?
A bucket of warm water, soft scrub brush, absorbent towels, and disinfecting wipes are needed.
How do I disinfect the ice maker after cleaning?
Wipe all surfaces with a disinfecting wipe, ensuring contact for the product’s recommended dwell time.
Can I use any disinfecting wipes for the ice maker?
Use food‑safe wipes like Amazon Basics or CloroxPro disinfecting wipes, which are rated for kitchen appliances.