How to Test Ice Melt Rate for Cocktail Dilution: A Step-by-Step Guide to Measure, Compare, and Control Dilution
The reader will learn a systematic method to evaluate how quickly ice melts in a cocktail, why melt rate matters for flavor balance, and how to use the data to improve drink consistency. Understanding melt dynamics enables bartenders and enthusiasts to select the appropriate ice type, adjust dilution timing, and maintain the intended taste profile. This guide provides practical instructions, professional tips, and product recommendations that enhance accuracy without requiring specialized laboratory equipment. By following the steps, one can achieve repeatable results that elevate the overall cocktail experience.
What You Will Need
- Commercial ice maker or countertop ice ball maker for consistent ice production
- Digital kitchen scale with 0.1‑gram precision
- Clear glassware or a standard cocktail shaker
- Stopwatch or timer application
- Thermometer (optional for temperature monitoring)
- Bar Maid Chlorine Test Paper for water quality verification
- Highball & Chaser Cocktail Shaker Set for mixing and serving
All of the above tools are available on Amazon and are linked in the steps where they are most useful.
Step 1: Produce Consistent Ice Samples
Begin by generating two types of ice: standard hat‑shaped cubes and large clear spheres. For high‑volume production, the EUHOMY Ice Maker delivers up to 100 lb of non‑clumping gourmet ice per day and stores 33 lb, ensuring a steady supply of uniform cubes. Its LCD control panel allows precise adjustment of cube size, which is essential for repeatable testing. For sphere ice, the ecozy Ice Ball Maker creates 2.4‑inch crystal‑clear balls in approximately 40 minutes, providing a low‑surface‑area alternative that melts more slowly. Both devices include water filtration to guarantee impurity‑free ice, a factor that can affect melt rate.
Produce at least twelve cubes and six spheres, allowing them to fully freeze before proceeding. Record the production date and batch number for traceability.
Step 2: Verify Water Quality
Water impurities can cause cloudiness and alter thermal conductivity. Use the Bar Maid Test Paper to confirm that chlorine levels are within acceptable limits (10‑200 ppm). Dip a strip into a sample of the water used for ice production, blot, and compare to the color chart. If the reading exceeds 100 ppm, replace the filter in the ice maker or use filtered bottled water. Clean water contributes to clear ice and consistent melt characteristics.
Document the test result; this information will be useful when comparing melt rates across different water sources.
Step 3: Measure Initial Ice Mass
Place a single cube on a digital kitchen scale and record its mass to the nearest 0.1 gram. Repeat for a sphere, noting the greater mass due to larger volume. Perform three measurements for each ice type and calculate the average mass. Accurate mass data is essential because melt rate is expressed as grams per minute, which normalizes the comparison between ice shapes.
Example table:
| Ice Type | Measurement 1 (g) | Measurement 2 (g) | Measurement 3 (g) | Average (g) |
|---|---|---|---|---|
| Hat Cube | 12.3 | 12.5 | 12.4 | 12.4 |
| Clear Sphere | 28.7 | 28.9 | 28.8 | 28.8 |
These values will serve as the baseline for melt calculations.
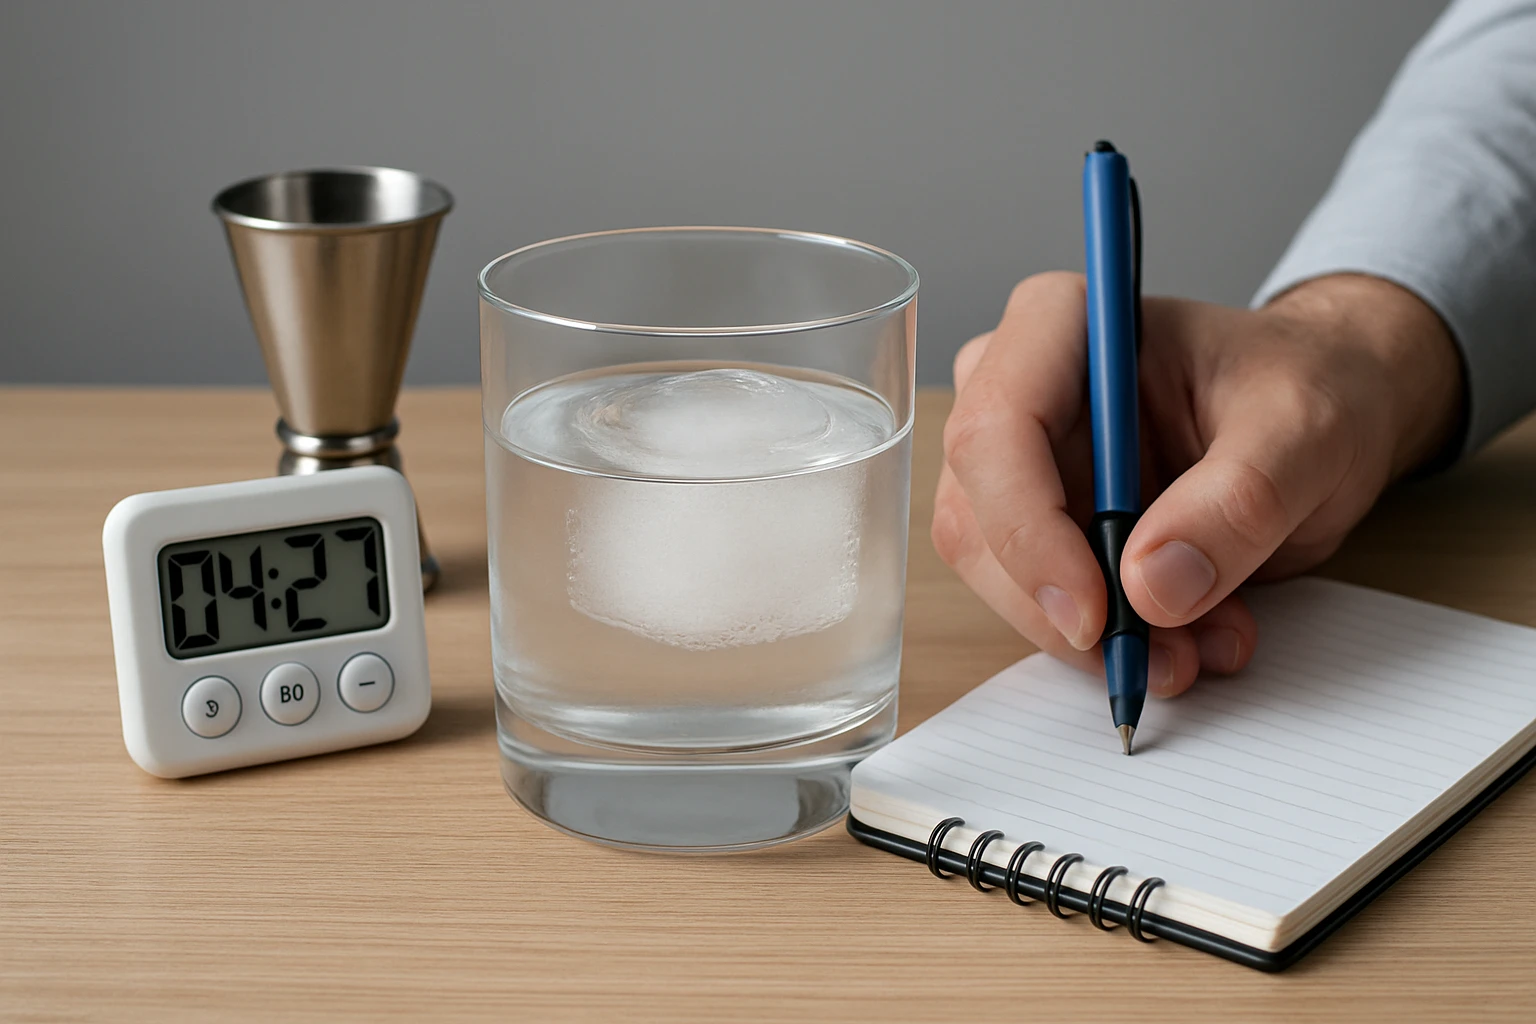
Step 4: Simulate Cocktail Dilution
Fill a standard Old‑Fashioned glass with 30 ml of water at room temperature (approximately 22 °C). Add a single ice piece, then start the stopwatch. Observe the ice as it melts while gently stirring with the bar spoon from the Highball & Chaser Shaker Set. Stirring replicates the dilution process in a mixed drink and ensures uniform heat transfer.
Record the time when the ice has completely melted and the water temperature stabilizes. Repeat the procedure three times for each ice type, noting the average melt time.
Step 5: Calculate Melt Rate
Use the formula:
Melt Rate (g/min) = Average Ice Mass (g) ÷ Average Melt Time (min)
For example, if a hat cube averages 12.4 g and melts in 1.8 minutes, the melt rate is 6.9 g/min. A clear sphere of 28.8 g melting in 4.2 minutes yields a melt rate of 6.9 g/min as well, illustrating that larger ice can achieve comparable dilution speed due to reduced surface‑area‑to‑volume ratio.
Document the results in a simple spreadsheet to track variations over time or across different batches.
Step 6: Interpret Results and Adjust Practices
If the melt rate of the preferred ice exceeds the target dilution window (commonly 5‑7 g/min for classic cocktails), consider the following adjustments:
- Switch to larger, clearer spheres to slow melt.
- Pre‑chill glassware to reduce temperature differential.
- Reduce stirring intensity or duration.
- Use a higher‑proof spirit, which dilutes more slowly.
Conversely, if melt rate is too slow, use smaller cubes or increase the stirring frequency. The data-driven approach enables precise control over the final alcohol‑to‑water ratio, preserving the intended flavor profile.
Tips & Pro Tips
- Perform the test at consistent ambient temperature; fluctuations of more than 2 °C can skew results.
- Use the same stirring speed for each trial; a metronome set to 60 beats per minute can provide consistency.
- Store ice in a sealed container to prevent sublimation before testing.
- For cocktails that will sit for extended periods, consider a double‑layer of ice (cube plus sphere) to create a controlled dilution curve.
Troubleshooting
- Ice clumps together. Ensure the water filter is installed correctly in the EUHOMY Ice Maker; a clogged filter can cause mineral buildup and clumping.
- Rapid melt despite large size. Verify that the sphere is fully formed and free of cracks; micro‑fractures increase surface area and accelerate melting.
- Inconsistent test paper readings. Use fresh strips for each measurement and store the vial in a dry environment to avoid moisture absorption.
Conclusion
The guide has outlined a professional methodology to test ice melt rate, compare different ice geometries, and apply the findings to control cocktail dilution. By employing reliable equipment such as the EUHOMY Ice Maker, ecozy Ice Ball Maker, Bar Maid Test Paper, and Highball & Chaser Shaker Set, one can achieve repeatable results that enhance drink quality. Readers are encouraged to integrate this testing routine into their regular bar operations to maintain consistency and delight patrons with perfectly balanced cocktails.
Products Mentioned in This Guide
Frequently Asked Questions
Why does ice melt rate affect cocktail flavor?
Faster melt dilutes the drink sooner, altering sweetness, strength, and balance, while slower melt preserves the intended profile longer.
What basic tools are needed to measure ice melt rate at home?
A digital kitchen scale (0.1 g), a stopwatch, clear glassware or shaker, and consistent ice cubes are sufficient.
How do I calculate the melt rate using a scale and timer?
Weigh the ice, start the timer when it contacts the liquid, re‑weigh at set intervals, and divide weight loss by elapsed time.
Can I compare different ice shapes without specialized equipment?
Yes; using the same volume of ice (e.g., cubes vs. balls) and repeating the test under identical conditions reveals relative melt speeds.
What tips help ensure repeatable melt‑rate results?
Use ice from the same maker, keep ambient temperature constant, and record water temperature if possible for consistency.